Embarking on the journey of building your own gaming PC can be an exciting yet daunting task for beginners. The world of custom-built computers offers a myriad of options, from choosing the right components to assembling them into a powerful gaming rig. In this comprehensive guide, we will break down the essential steps and considerations for building your gaming PC, catering to those who are new to the DIY PC-building scene.
Understanding the Basics
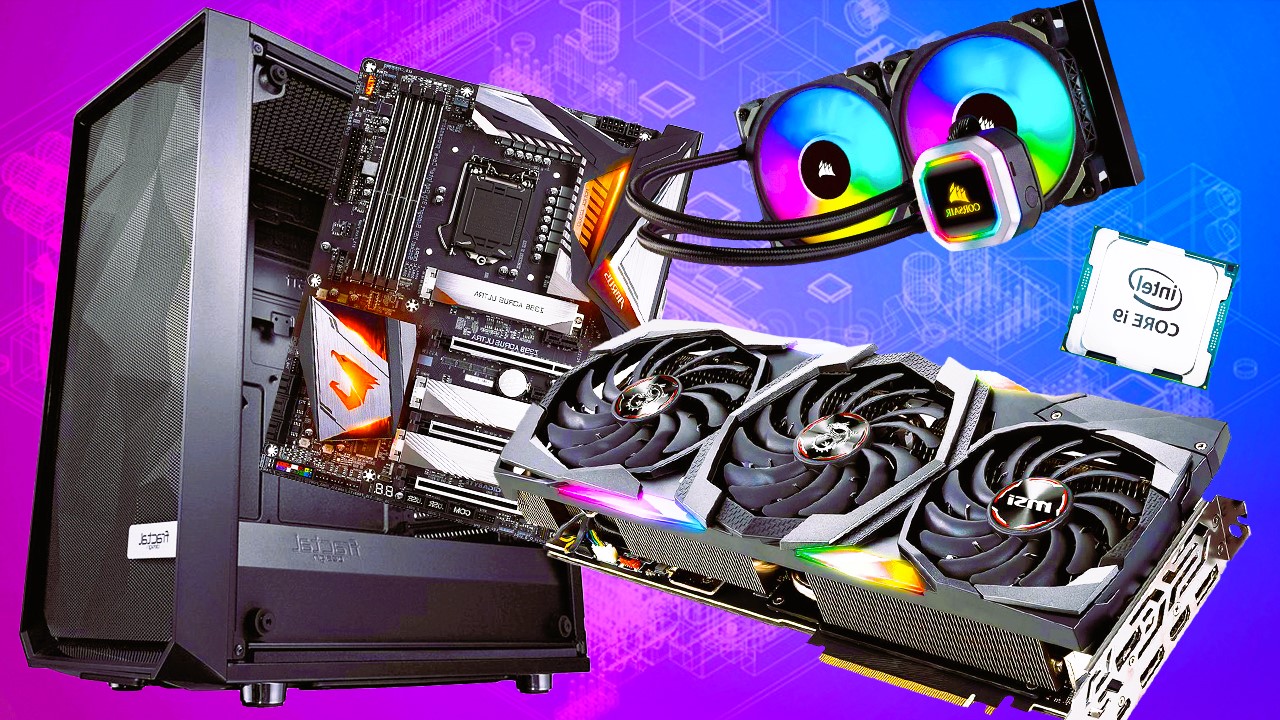
Before delving into the nitty-gritty details of assembling a gaming PC, it’s crucial to understand the basic components that make up a computer. These include the central processing unit (CPU), graphics processing unit (GPU), motherboard, random access memory (RAM), storage devices, power supply unit (PSU), and cooling solutions. Familiarizing yourself with these components sets the foundation for a successful build.
Choosing the Right Components
- Central Processing Unit (CPU): Often referred to as the brain of the computer, the CPU determines the overall performance of your gaming PC. Popular choices include processors from AMD’s Ryzen series and Intel’s Core series. Consider factors such as clock speed, core count, and compatibility with other components.
- Graphics Processing Unit (GPU): The GPU is responsible for rendering graphics in games. NVIDIA and AMD are the leading manufacturers, with GPUs like the NVIDIA GeForce RTX series and AMD Radeon RX series offering excellent gaming performance. Choose a GPU based on your gaming preferences and budget.
- Motherboard: The motherboard serves as the backbone of your PC, connecting all components. Ensure compatibility with your chosen CPU and GPU, and consider features such as PCIe slots, USB ports, and expansion options.
- Random Access Memory (RAM): RAM affects multitasking capabilities and system responsiveness. Aim for at least 16GB of DDR4 RAM for a gaming PC, with higher capacities beneficial for more demanding applications.
- Storage Devices: Decide between solid-state drives (SSDs) for fast load times and hard disk drives (HDDs) for large storage capacity. Many builders opt for a combination of both, with an SSD for the operating system and frequently used applications.
- Power Supply Unit (PSU): The PSU provides power to your components. Choose a reliable and efficient unit with sufficient wattage for your components. Modular PSUs allow for cleaner cable management.
- Cooling Solutions: Proper cooling is essential to prevent components from overheating. Air and liquid cooling solutions are available, with air coolers being more budget-friendly and liquid coolers offering superior thermal performance. We analyze the latest releases of game consoles, read more in our article.
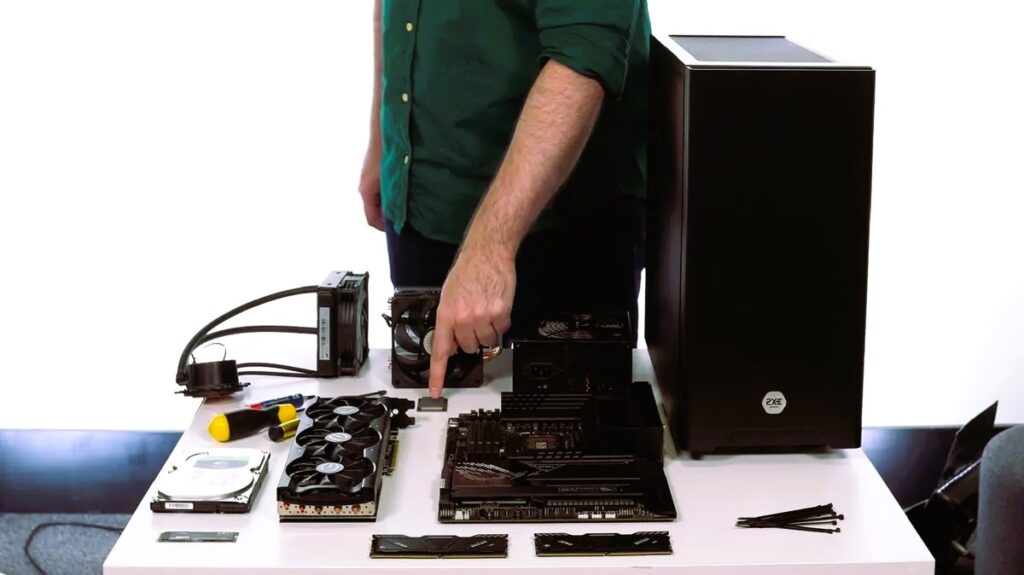
Building the PC

- Prepare Your Workspace: Choose a well-lit and spacious area to assemble your PC. Gather tools such as screwdrivers, cable ties, and thermal paste.
- Install the CPU and Cooler: Follow the manufacturer’s instructions to install the CPU onto the motherboard. Apply thermal paste and attach the CPU cooler, ensuring a secure fit.
- Install RAM: Insert the RAM modules into the corresponding slots on the motherboard, applying gentle pressure until they click into place.
- Mount the Motherboard: Secure the motherboard to the case using the included standoffs and screws. Connect the necessary power cables.
- Install Storage Devices: Mount the SSD and/or HDD in the designated drive bays, connecting the data and power cables.
- Install GPU: Insert the GPU into the PCIe slot on the motherboard, securing it in place with the PCIe latch. Connect the required power cables.
- Connect Cables: Connect all necessary cables, including power cables for the CPU, GPU, and motherboard. Route cables neatly to ensure proper airflow and aesthetics.
- Test the PC: Before fully assembling the case, connect the essential components outside the case and test that the system powers on.
- Cable Management: Once the system is confirmed to be working, tidy up cable management inside the case. Use cable ties to bundle and secure cables.
- Install Operating System: Install your preferred operating system, such as Windows, and update drivers for optimal performance.
Conclusion
Building your gaming PC is a rewarding experience that allows you to tailor your system to your specific needs and preferences. By understanding the basics, choosing the right components, and following a systematic assembly process, even beginners can successfully build a powerful gaming rig. Remember to consult resources like Fandom guidance throughout the PC-building journey. Happy building!